Extras
Extras are delicious side dishes that you can add to your Entries, giving your users a little something extra when they make their reservations.
Managing Extras
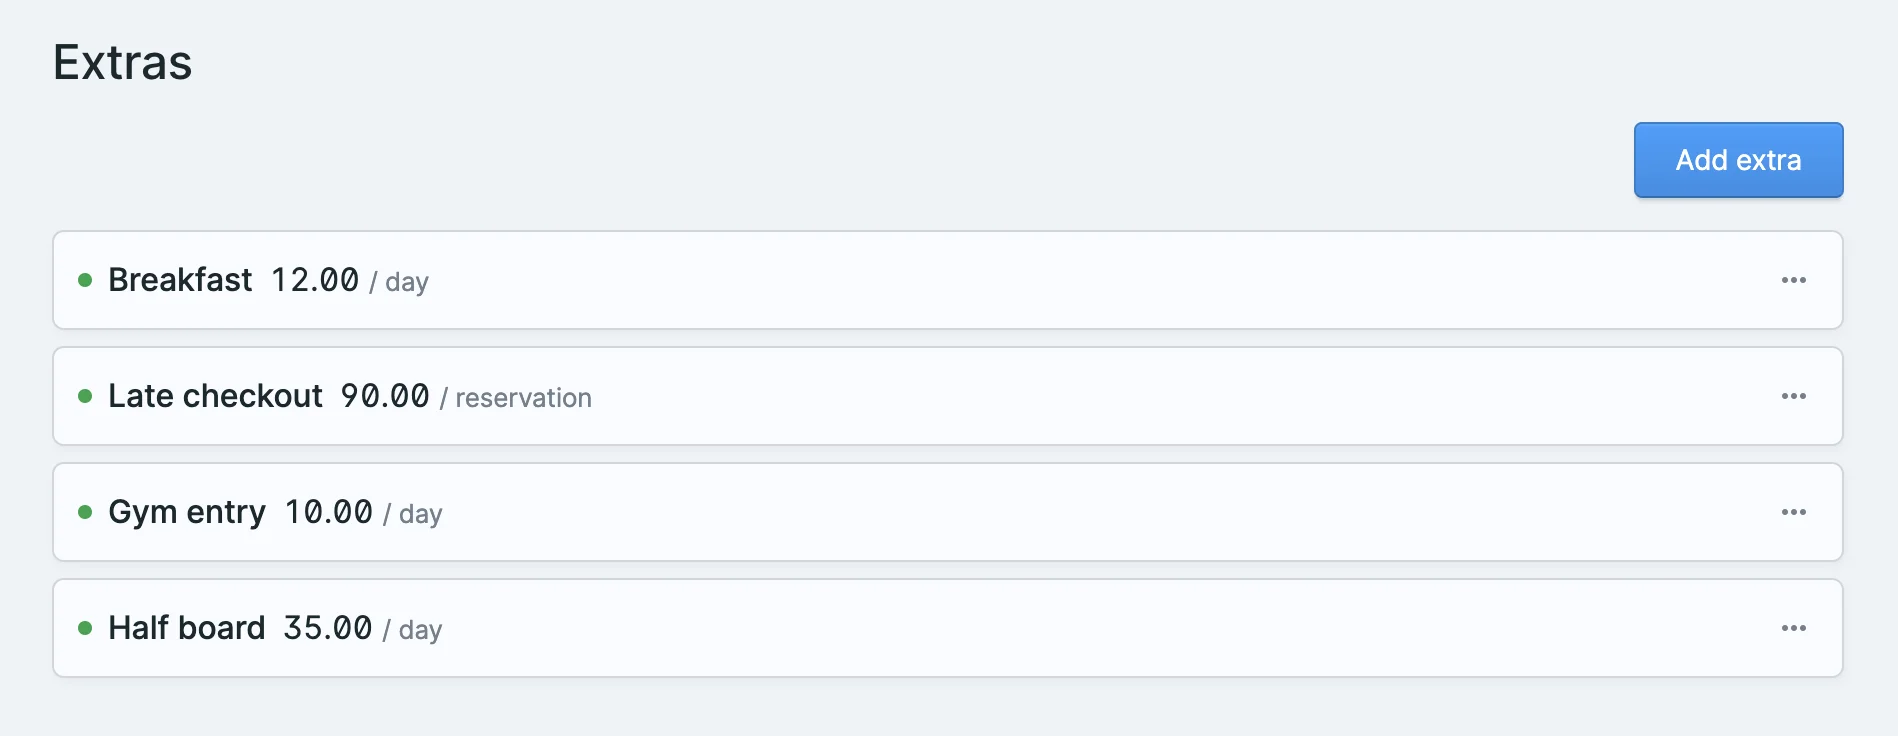
You've probably seen this coming, but here it is: Extras are managed in the Extras section of the admin panel.

Each Extra has a name, a description, and a price. The price can be calculated in various ways:
Fixed: A fixed price that gets added to the total price of the reservation.
Per day: You charge the set amount for each day of the reservation.
Relative to the reservation price: You can set a multiplier that gets applied to the total reservation price to determine the price of the Extra. For example, if you set the multiplier to
1.5and the total reservation price is100, the Extra will cost150.Relative to a checkout form item: You can select a field in the checkout form (should be a numerical field) and calculate the price based on the value of that field. For example, if you set the field to
adultsand the price to10, and the user selects3adults, the Extra will cost30.
If you enable the Can add more than one option, the user can use a quantity field on the frontend to order more than one of that extra, up to the max amount you set with "Maximum number for 1 reservation".
You can also override the default name by using the Override label field (useful if you have many similar extras and want to differentiate them in the control panel but display the same name to the user).
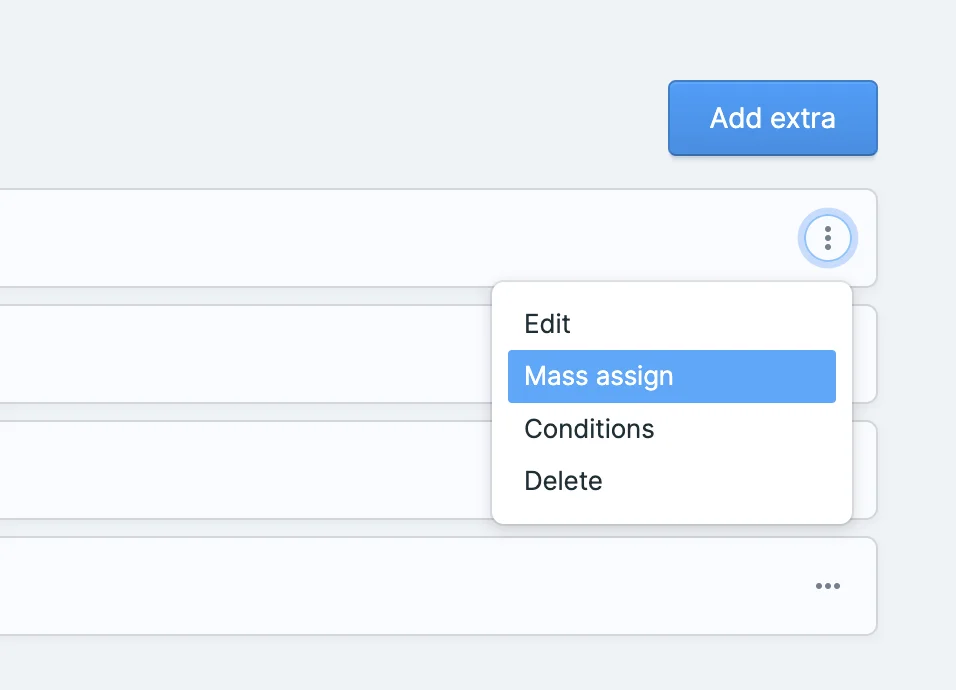
After you've created your Extras, you need to assign them to the Entries you want them to be available for. To do that, simply open the dropdown menu and select Mass assign:

Extra Categories
If you wish, you can organize your extras in categories. This doesn't alter their functionality in any way, but you can display them to the user organized in a more natural way, plus add a description text on each category. As an added bonus, you can publish/unpublish a whole category.
To use this feature, just add a category and add extras to it (or drag and drop existing extras).
Extras Field (Optional)
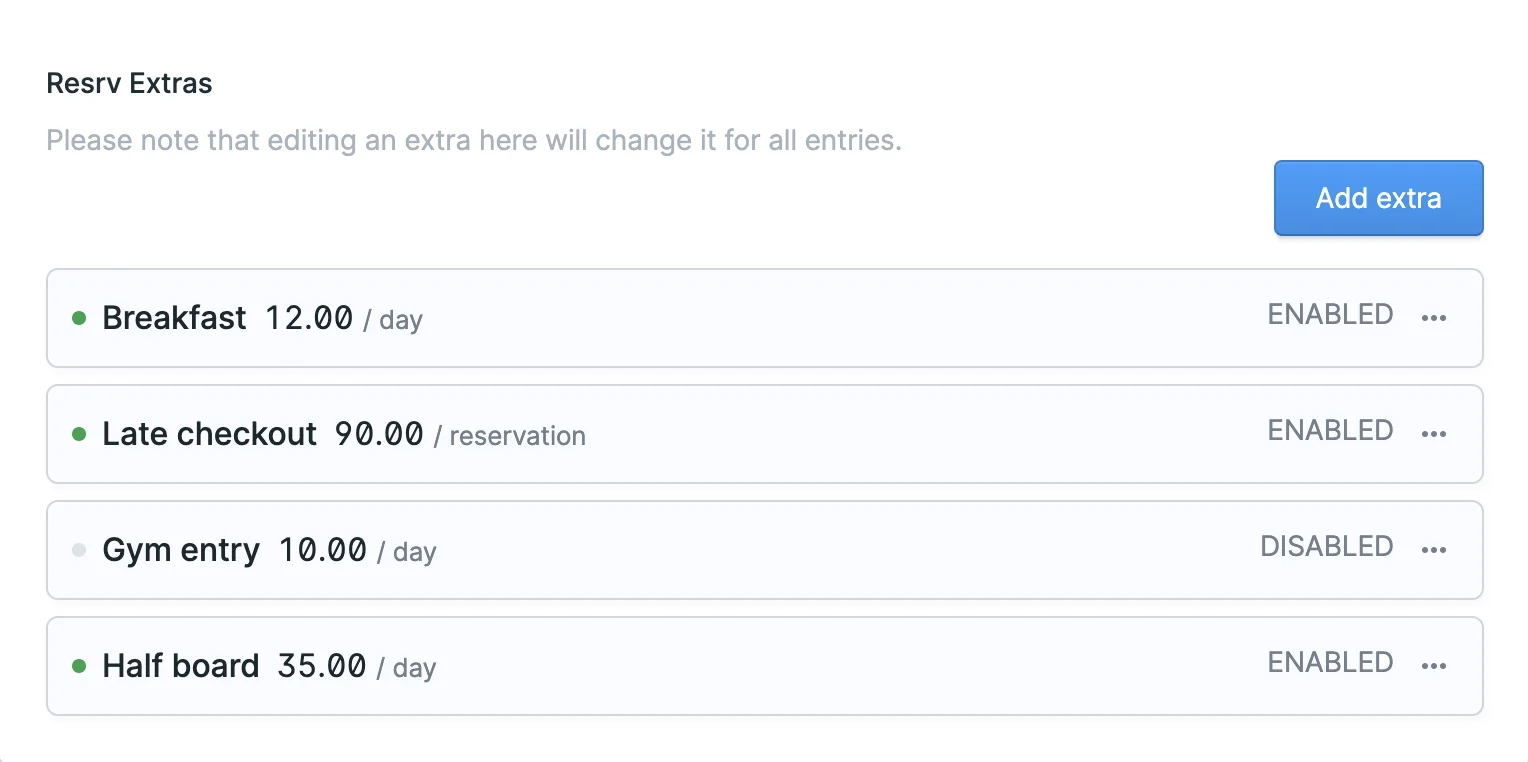
Besides the Extras management page, you can also add a Resrv Extras field to your Blueprint. While not necessary, it's a good idea to add this field to your Entries so that you can easily see which Extras are available for each Entry.

Conditions
You can show, hide, or make an Extra required based on a number of different conditions. You can also mix and match conditions.
For example, here we only show the Late Checkout Extra if the reservation is at least 7 days long:

Required extras display on the frontend as enabled and cannot be disabled by the user, so we suggest you add a note about it in that Extra's description.
Extras or Options?
Extras and Options are very similar, to the point that it can be a bit confusing. Let's try to clarify this.
The basic questions you need to ask yourself are:
- Do I want this to apply to all my Entries or just one?
- Does it have a fixed price, or does it depend on the Entry?
- Do I need the advanced pricing options that an
Extraoffers? - Do I need to conditionaly require, show or hide an extra based on another extra or variables of the reservation?
If you answered yes to any of these questions, you're probably better off using an Extra. In most cases, it's the best choice.
For example, if you offer a Transfer service to and from your hotel, the Extra allows you to quickly add it to all the room types and easily manage the price in one place.
On the other hand, let's say you rent a boat and want the user to select which cruise to book. If that cruise has a different price for each boat, and each boat has different cruises, you're better off using an Option.
In any case, feel free to skip ahead to the Options docs to learn more about them.